anime pin maker
Anime Pin Maker for Chibi and Character Pins
Generate anime pin concepts that already respect manufacturing rules — chibi proportions, bold outlines, limited palettes — then export a factory-ready brief.
anime pin maker
anime enamel pin
chibi pin maker
character pin design
anime badge maker
kawaii pin generator
anime merch pins
Start from this search
How to use anime pin maker
Turn anime pin maker research into a reviewed creative brief, choose the right model route, and keep the generation path attached to your project before spending credits.
Turn an existing anime-style character into a manufacturable pin concept
Plan a matching pin series with consistent style and palette
Get factory-ready specs (colors, outlines, size) without a designer
Coordinate pins with an ita bag theme
anime pin maker workflow steps
-
1. Describe the character or upload a reference of your original design.
-
2. Request the pin reduction: chibi proportions, bold outline, four to six flat colors, white background.
-
3. Pick a finish direction — hard enamel for glossy flat, soft enamel for tactile depth.
-
4. Review against factory rules: no gradients inside one cell, no floating elements, lines above 0.3mm at final size.
-
5. Generate the series variants if you are planning a set — same palette, same outline weight.
-
6. Export the concept with a quote-ready brief: size, plating, color codes, and backing style.
Lay out the pin concept from this workflow in the AI Pin Maker studio — try it free, no account needed.
What this anime pin maker is for
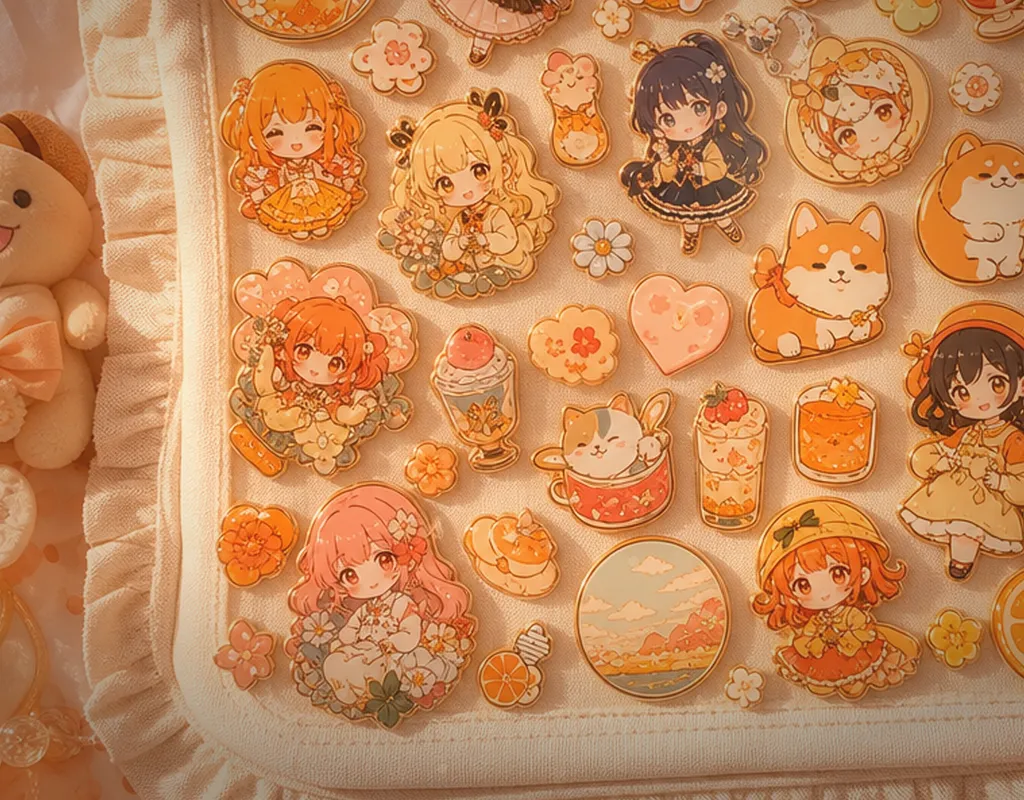
Anime pins live or die on simplification: a design that looks great as a full illustration often fails as a 35mm pin — too many colors, lines too thin, silhouette unreadable. The AI Pin Maker anime pin workflow generates concepts that are born manufacturable: chibi proportions that survive shrinking, bold outlines above minimum die-strike width, and palettes capped at the four to six enamel colors a factory can quote cleanly.
It serves both directions of the anime merch pipeline. Designers with an existing character feed it through image-to-image to get the pin-ready chibi reduction. Creators starting from nothing describe the character in a sentence and iterate on generated concepts until one earns a production brief.
Series planning guidance
- Anchor palette: pick three shared colors across the set plus one accent per character.
- Consistent eyes: matching eye style is what makes a series read as one collection.
- Size rhythm: a hero pin at 45mm with supporting pins at 30-35mm displays well together.
- Backing cards: a shared card template with per-character art ties the drop together.
Related pages
- AI Pin Maker for the general pin concept workflow.
- Ita Bag Design to plan the display layout.
- Pin Maker Production Workflow for manufacturing handoff details.
Common questions
Can I use my existing original character?
Yes — upload your art as a reference and the workflow produces the pin-ready reduction: chibi proportions, simplified palette, bold outlines. Identity stays recognizable through the simplification.
What about characters from existing anime?
Protected characters from existing franchises are rejected. The workflow is for original characters and original designs in anime style — what you can lawfully manufacture and sell.
What specs does the factory brief include?
Size, plating finish, enamel type (hard or soft), color count with code references, outline notes, and backing style — the details a manufacturer needs to quote without back-and-forth.
How do these pins fit an ita bag plan?
Directly — the ita bag design workflow consumes the same concepts. Generate the series here, then place them in a bag layout to check color balance before committing to production.