how to use a pin maker
How to Use a Pin Maker, Explained in Five Steps
A beginner walkthrough of the pin design workflow — what to type, what to check, and how the mockup becomes a real enamel pin.
how to use a pin maker
how to use pin maker
pin maker tutorial
how to design a pin
pin maker guide for beginners
how to make a pin design online
enamel pin design steps
Start from this search
How to use how to use a pin maker
Turn how to use a pin maker research into a reviewed creative brief, choose the right model route, and keep the generation path attached to your project before spending credits.
Follow a concrete first-design walkthrough instead of trial and error
Learn what to type so the result looks like a pin, not a drawing
Know what to check before sending a design to a manufacturer
Figure out the difference between the design step and the ordering step
how to use a pin maker workflow steps
-
1. Decide one subject and one wearer before touching the tool.
-
2. Write the prompt in pin language: bold metal outlines, 4-5 enamel colors, flat fills, white background.
-
3. Generate 2-3 candidates in the pin studio and pick by silhouette, not prettiness.
-
4. Run the 32-pixel test — shrink to thumbnail size and check what survives.
-
5. Export the keeper with size, plating, and color-count notes for the manufacturer.
Lay out the pin concept from this workflow in the AI Pin Maker studio — try it free, no account needed.
The five steps, explained
A pin maker turns a written idea into pin-shaped artwork. The whole loop takes a few minutes once you know what each step is for — here's the path through AI Pin Maker, and the same logic applies to any tool in the category.
Step 1 — Decide the subject and the wearer. One subject, one audience. "A corgi pin for dog lovers" gives the model a clear job; "something cute" doesn't.
Step 2 — Write the prompt in pin language. The words that matter: *bold metal outlines, 4-5 enamel colors, flat fills, glossy finish, white background*. These translate directly to how factories build pins — outlines become metal walls, flat colors become enamel pools.
Step 3 — Generate and compare. Make 2-3 candidates in the pin studio. Don't pick the prettiest; pick the one whose silhouette you can still name with eyes half-closed.
Step 4 — The 32-pixel test. Shrink the favorite down to thumbnail size. A real pin is about an inch wide on a jacket — if details vanish or text blurs at 32 px, simplify and re-roll.
Step 5 — Export with production notes. Size, plating color, enamel count, backing style. That one-pager is what turns "can you quote this?" emails into same-day answers.
What people get wrong on the first try
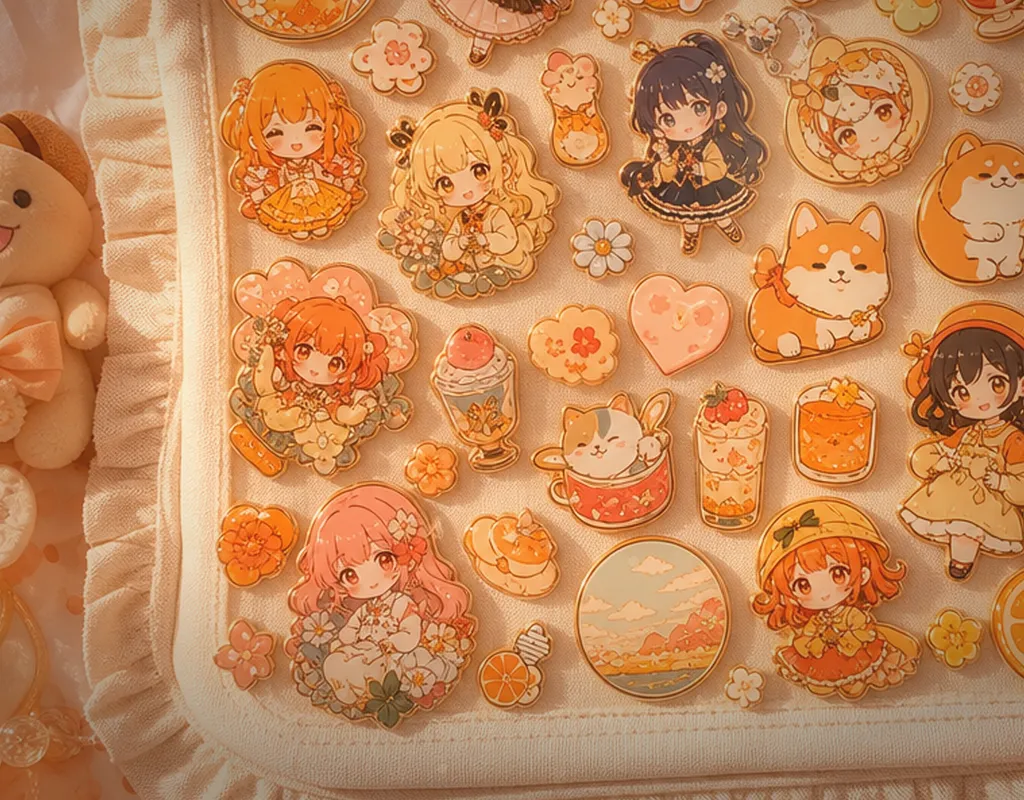
Three patterns come up constantly. Gradients: enamel is flat color poured into metal walls, so a sunset fade becomes 4 awkward stripes in production — prompt for flat fills from the start. Tiny text: anything under 8 strokes of width disappears at pin scale. And busy backgrounds: a pin is a silhouette first, so the design needs to survive without its background — which is why the prompt says *white background*.
If you'd rather start from something proven, pin templates hold layouts that already passed production review, and the pin showcase shows finished pins other makers shipped.
After the design: how it becomes a real pin
The pin maker's job ends at artwork; a manufacturer takes it from there. You send the mockup with your notes, they return a digital proof, then a physical sample, then the run. Typical first orders are 50-100 pieces. The cleaner the mockup, the fewer proof revisions — and proofs, unlike pixels, cost money. Full details on that handoff live in the enamel pin workflow guide and the custom pin maker page.
Related pages
- Custom Pin Maker for the design-to-quote workflow.
- Pin Maker for the category hub.
- How to Make Enamel Pins for the manufacturing side.
- AI Badge Design for badge-format layouts.
Common questions
Do I need design skills to use a pin maker?
No — describing the pin in plain words is the skill. The five steps above replace drawing ability; taste in picking the best candidate is all you bring.
Is the pin maker free?
Designing and previewing in AI Pin Maker is free with no sign-up. Manufacturing-resolution exports are on the pricing page.
What should I type into a pin maker?
Subject + audience + pin language: "corgi puppy pin for dog moms, bold metal outlines, 4 enamel colors, glossy finish, white background". Specific beats poetic every time.
Which AI models power the pin maker?
GPT Image 2 handles the default pin style, with Seedream 4.5 and Gemini routes for alternative looks — all inside the AI Pin Maker workspace.
How do I know my design will work as a physical pin?
The 32-pixel test: shrink it to thumbnail size. Clear silhouette, readable shapes, no hairline details — pass those and the factory proof will match your screen.
Can the same design become stickers or merch?
Yes — pin artwork is silhouette-first, which is exactly what stickers need. Run it through the AI Sticker Generator or adapt it in text to image.